Gift for hikers
Their trail, from start to finish.
Hiking is about days, not minutes. Put the whole route on the wall — with the elevation profile and the kilometres that go with it.
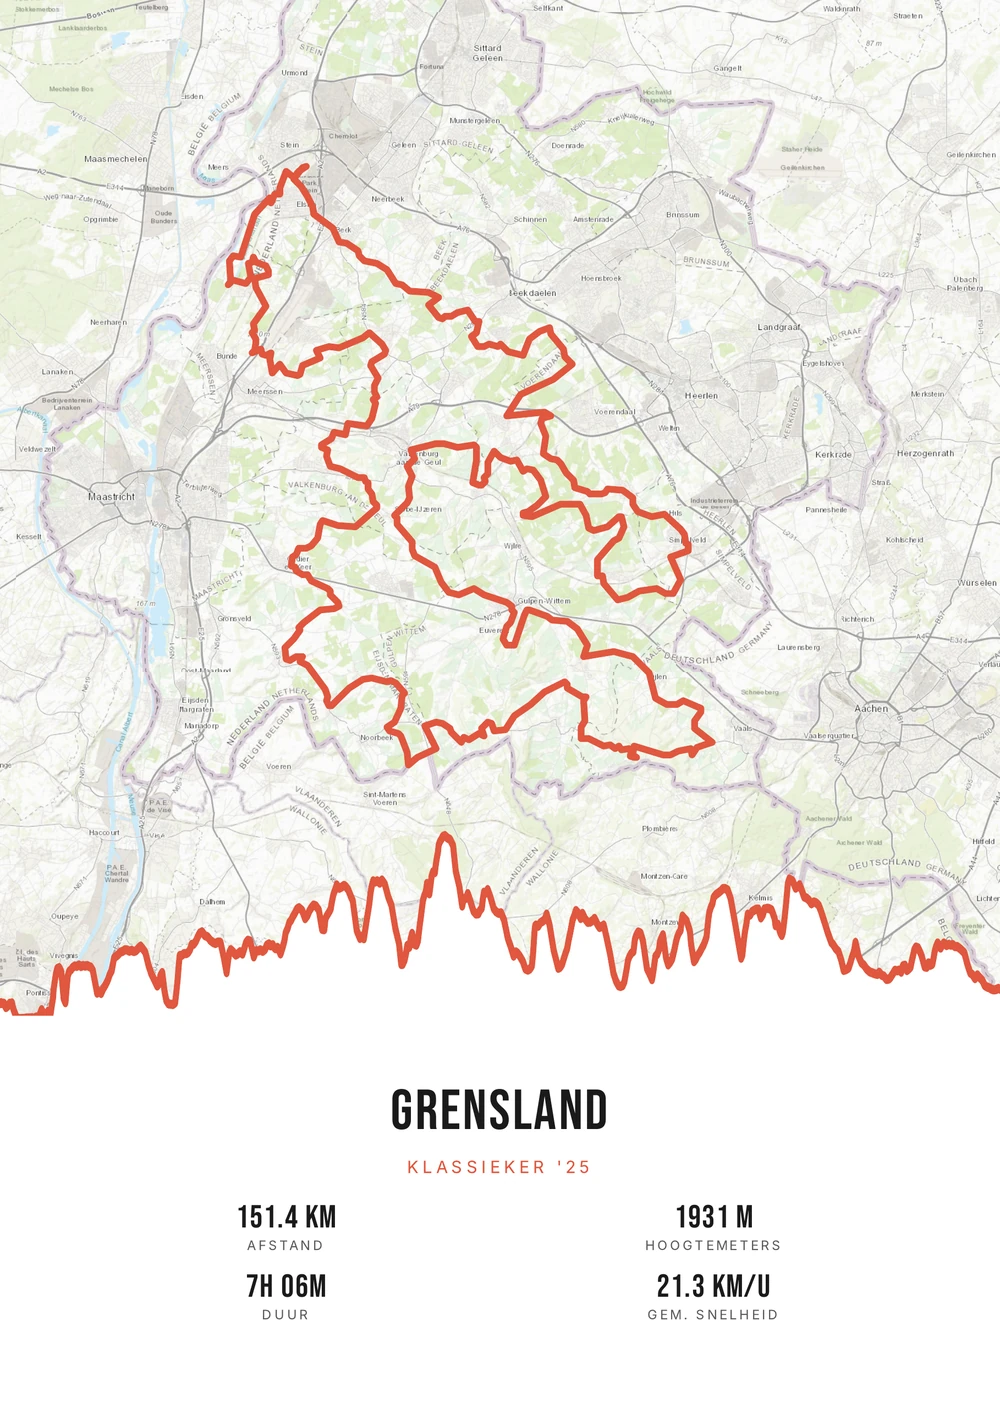
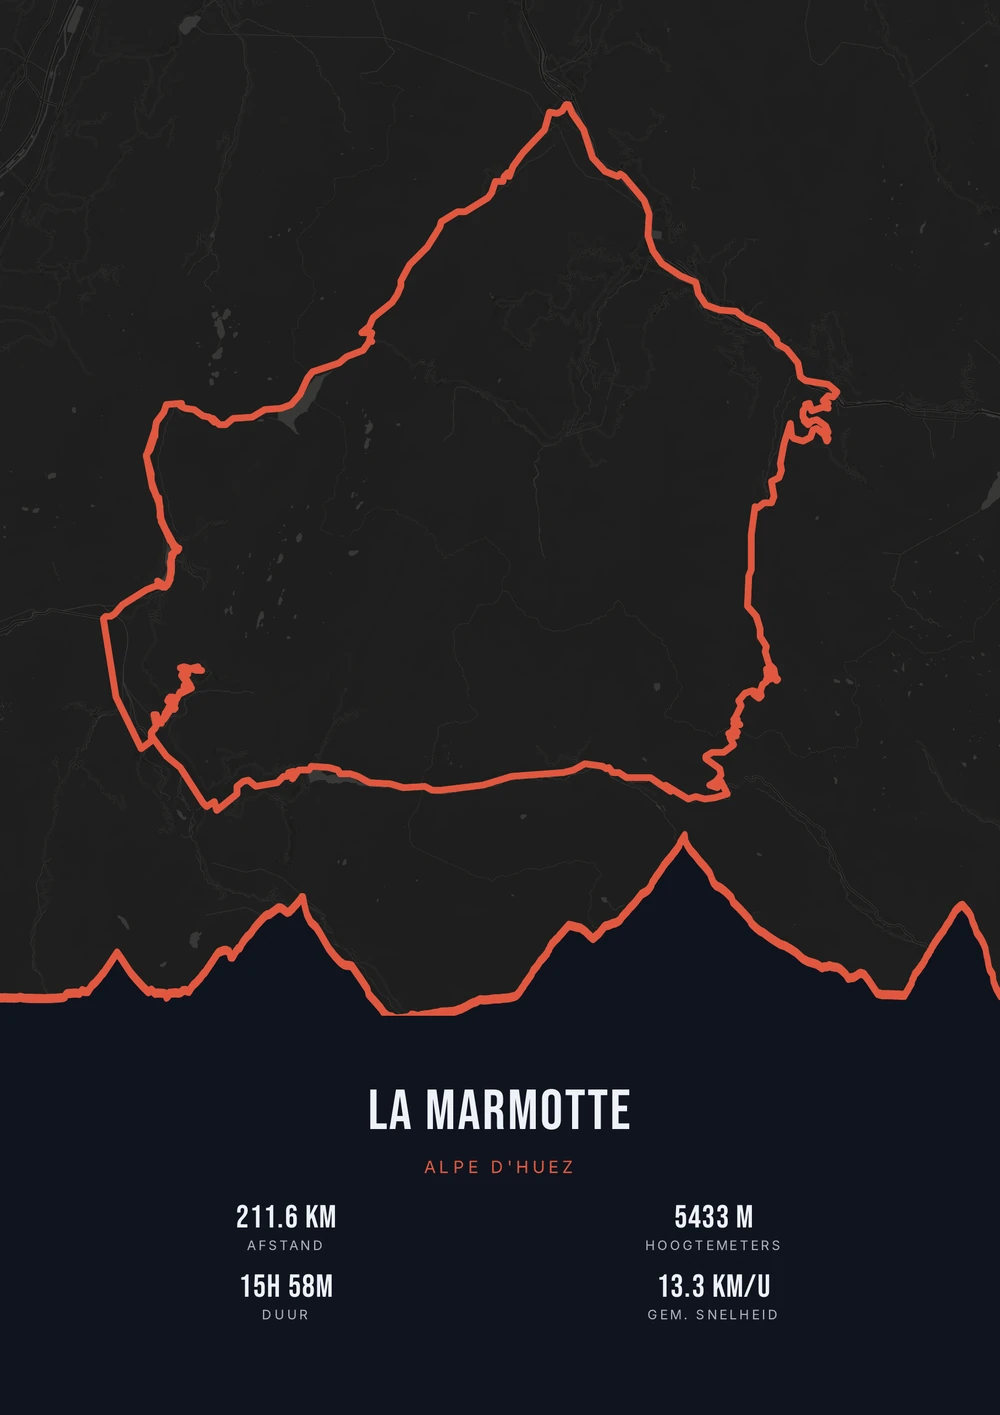
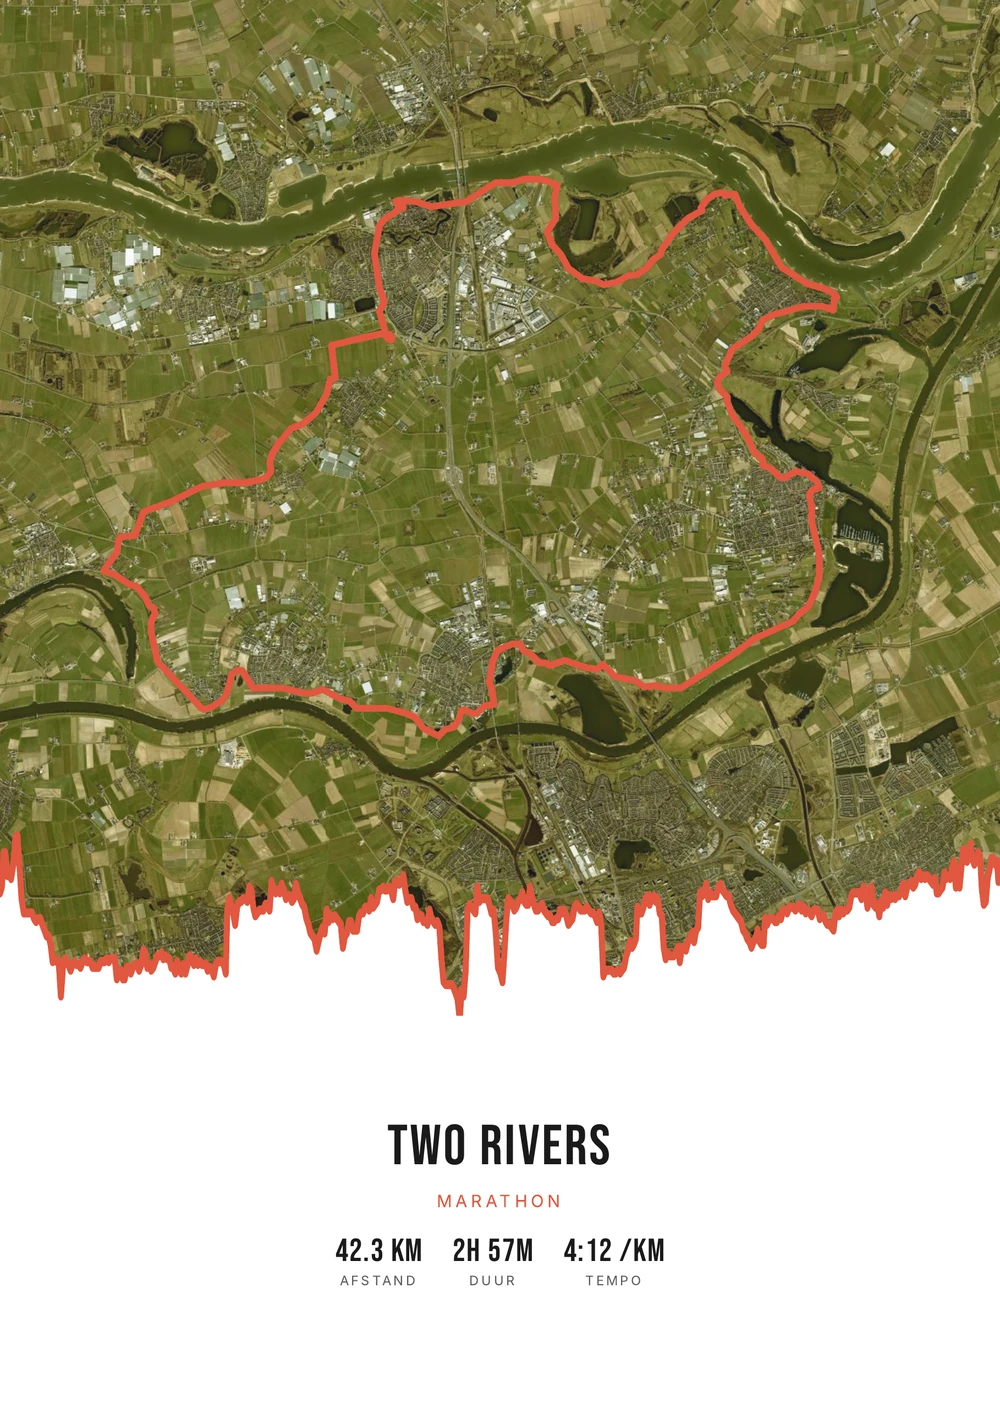
One ride. Endless looks.
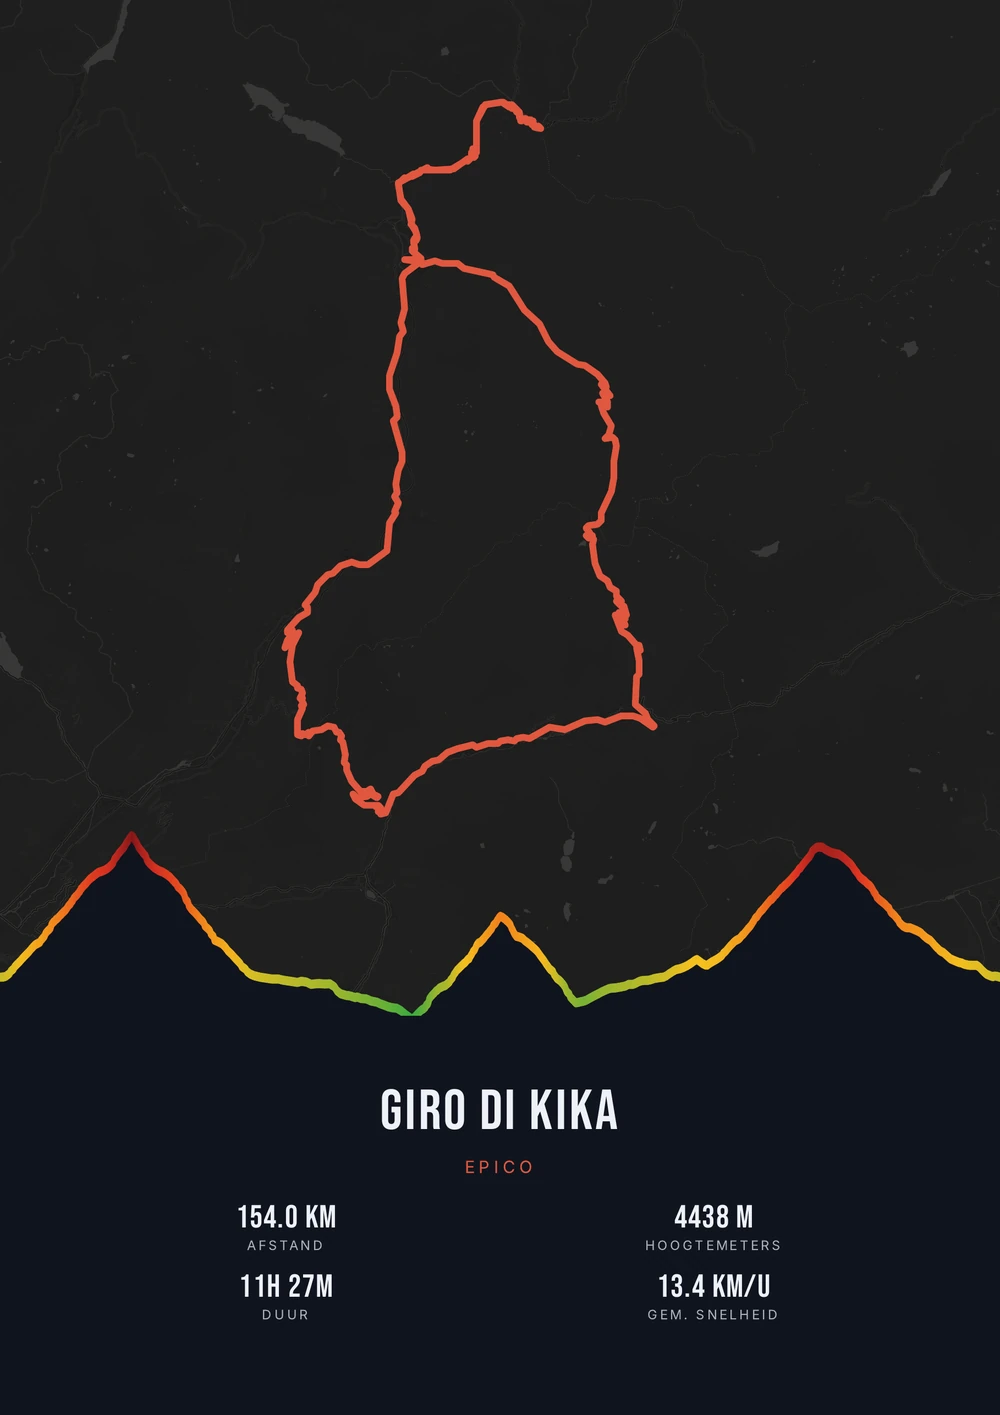
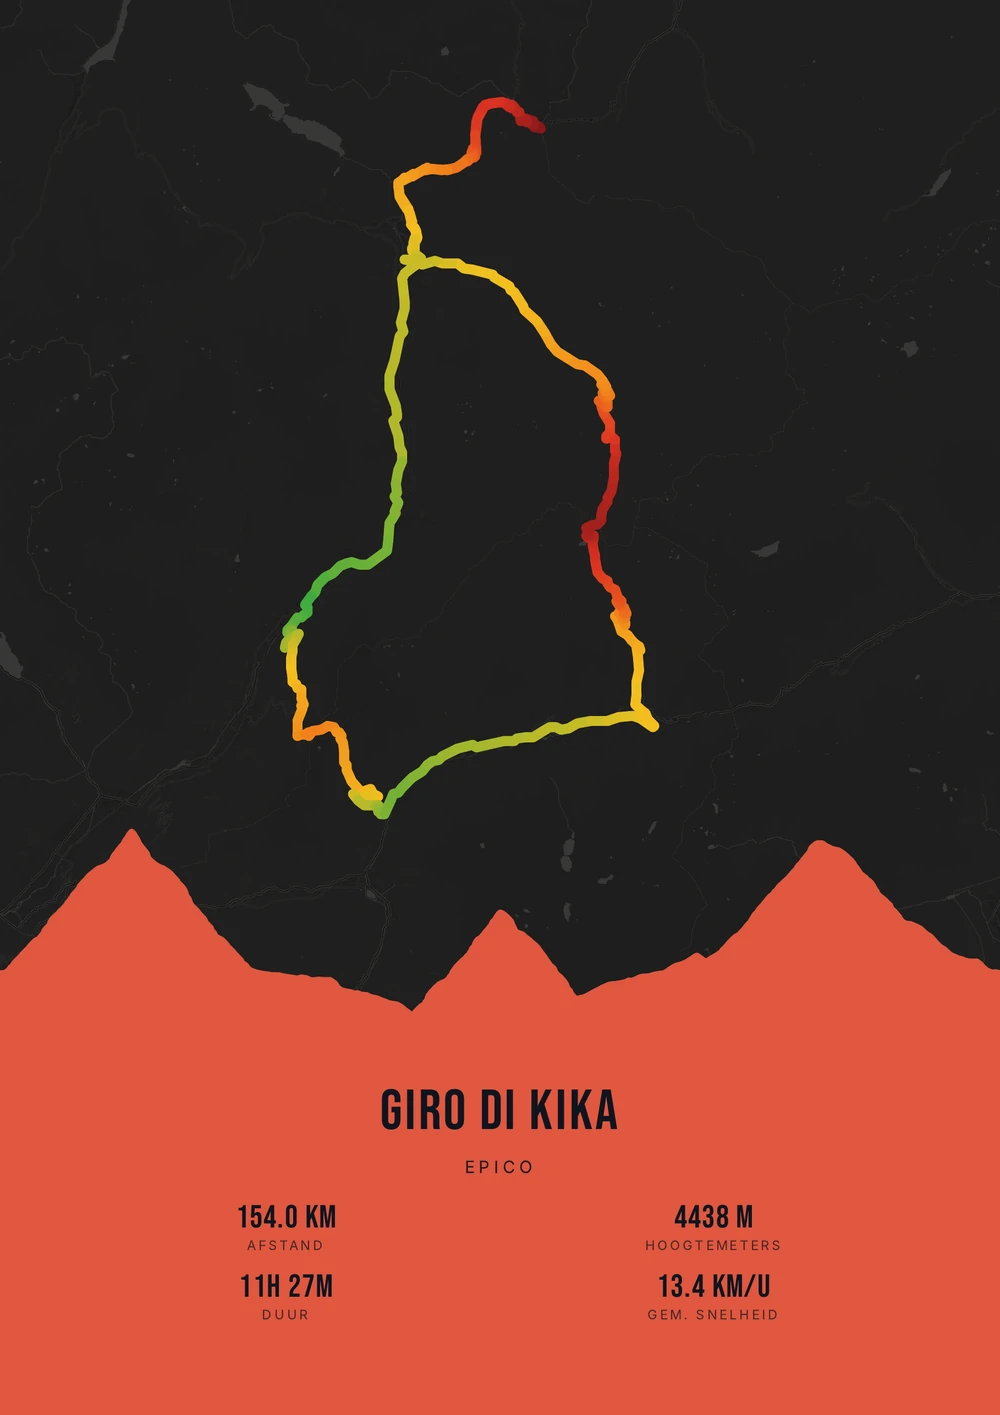
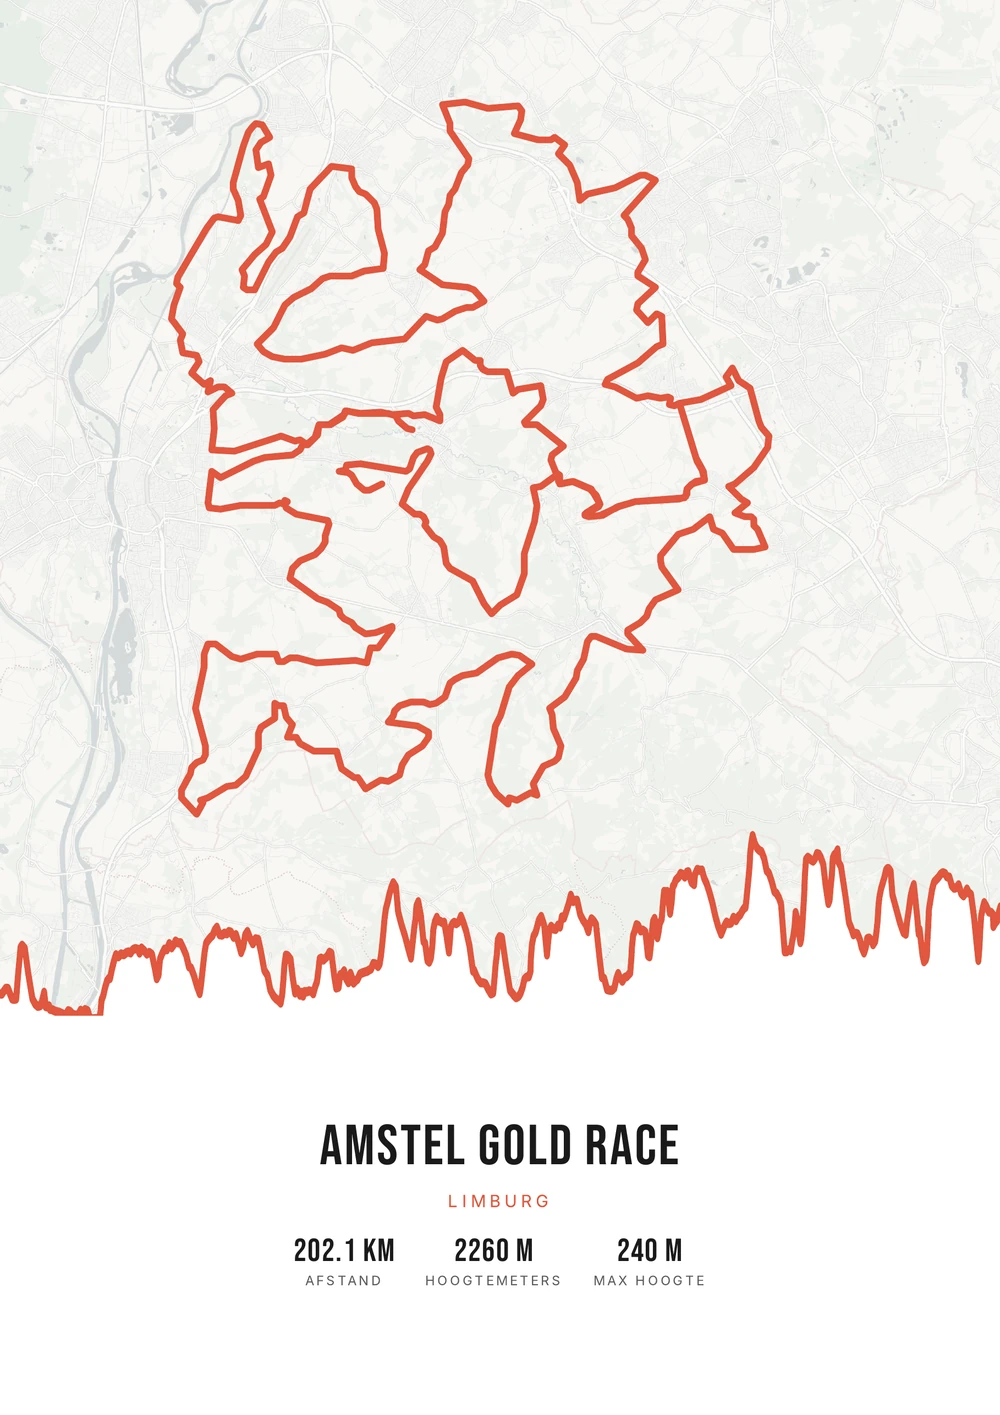
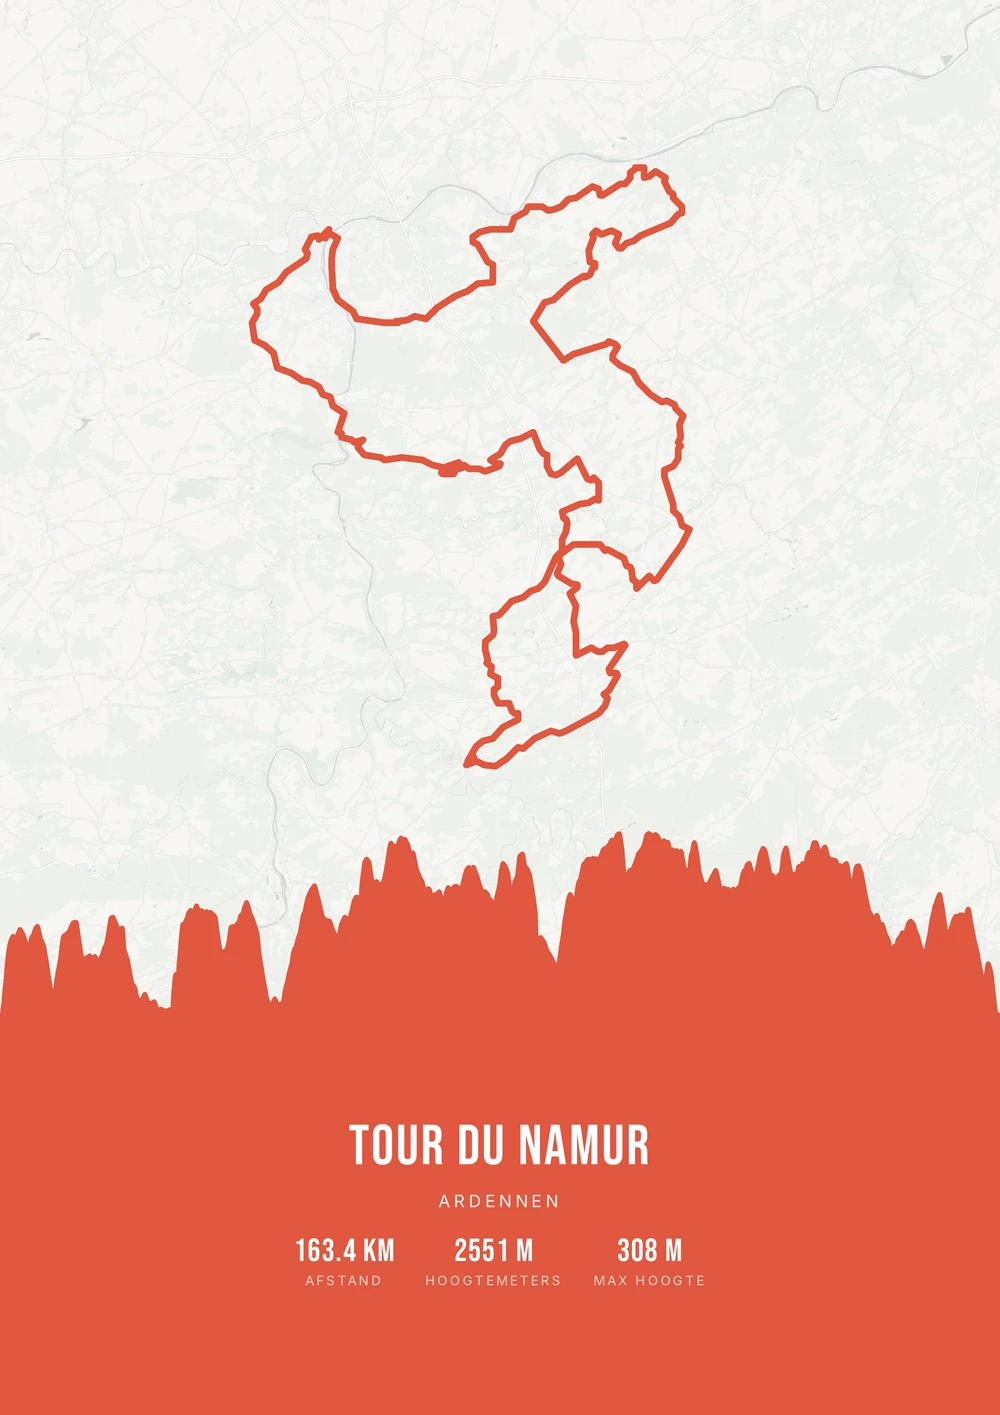
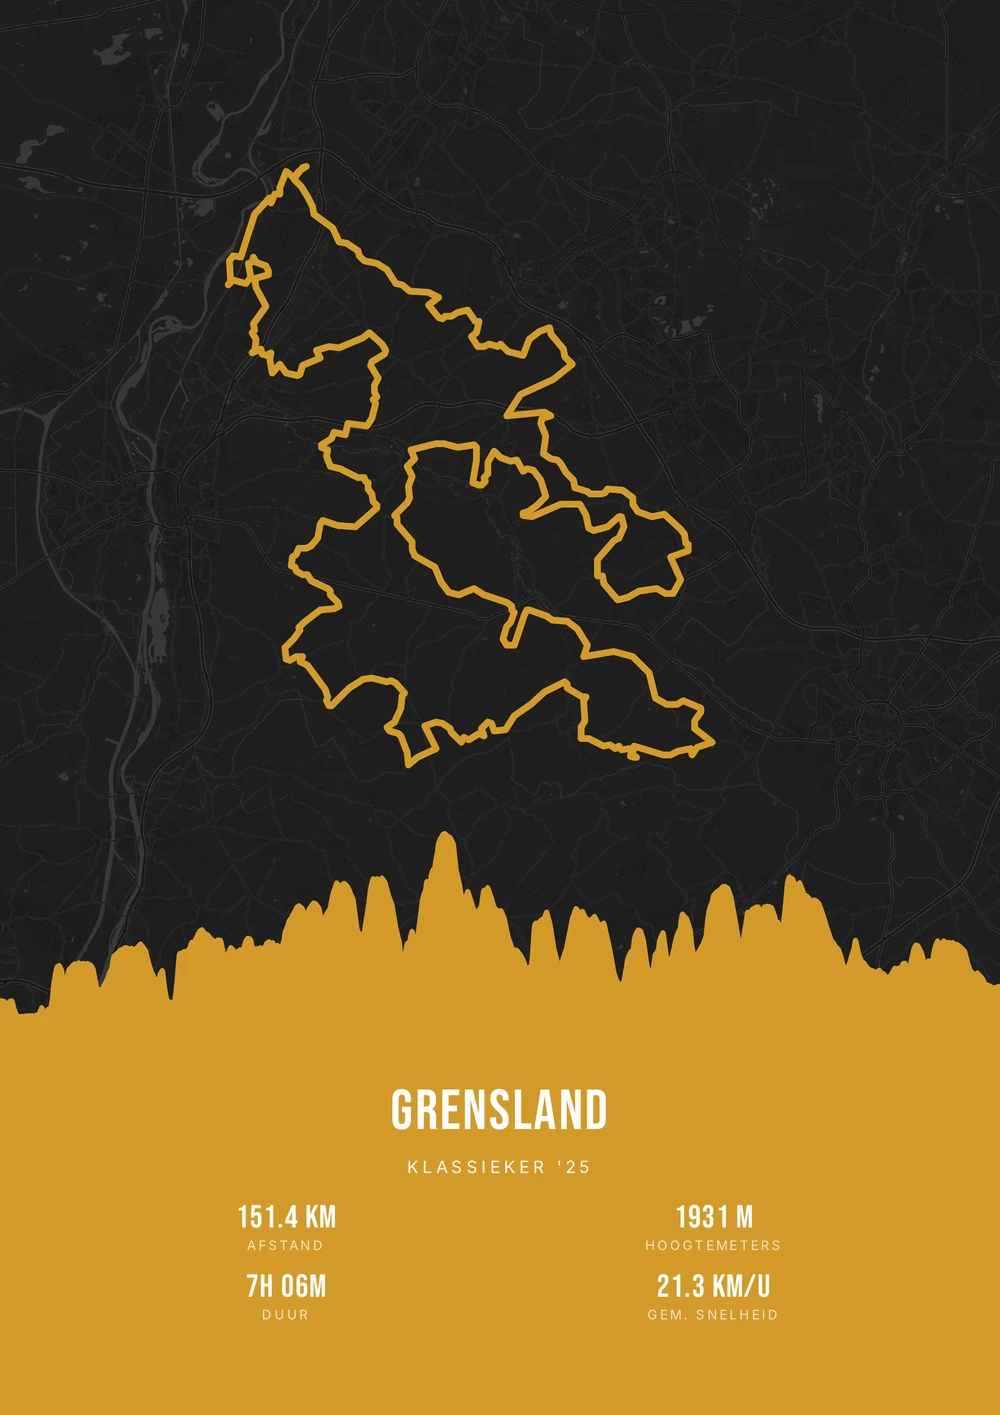
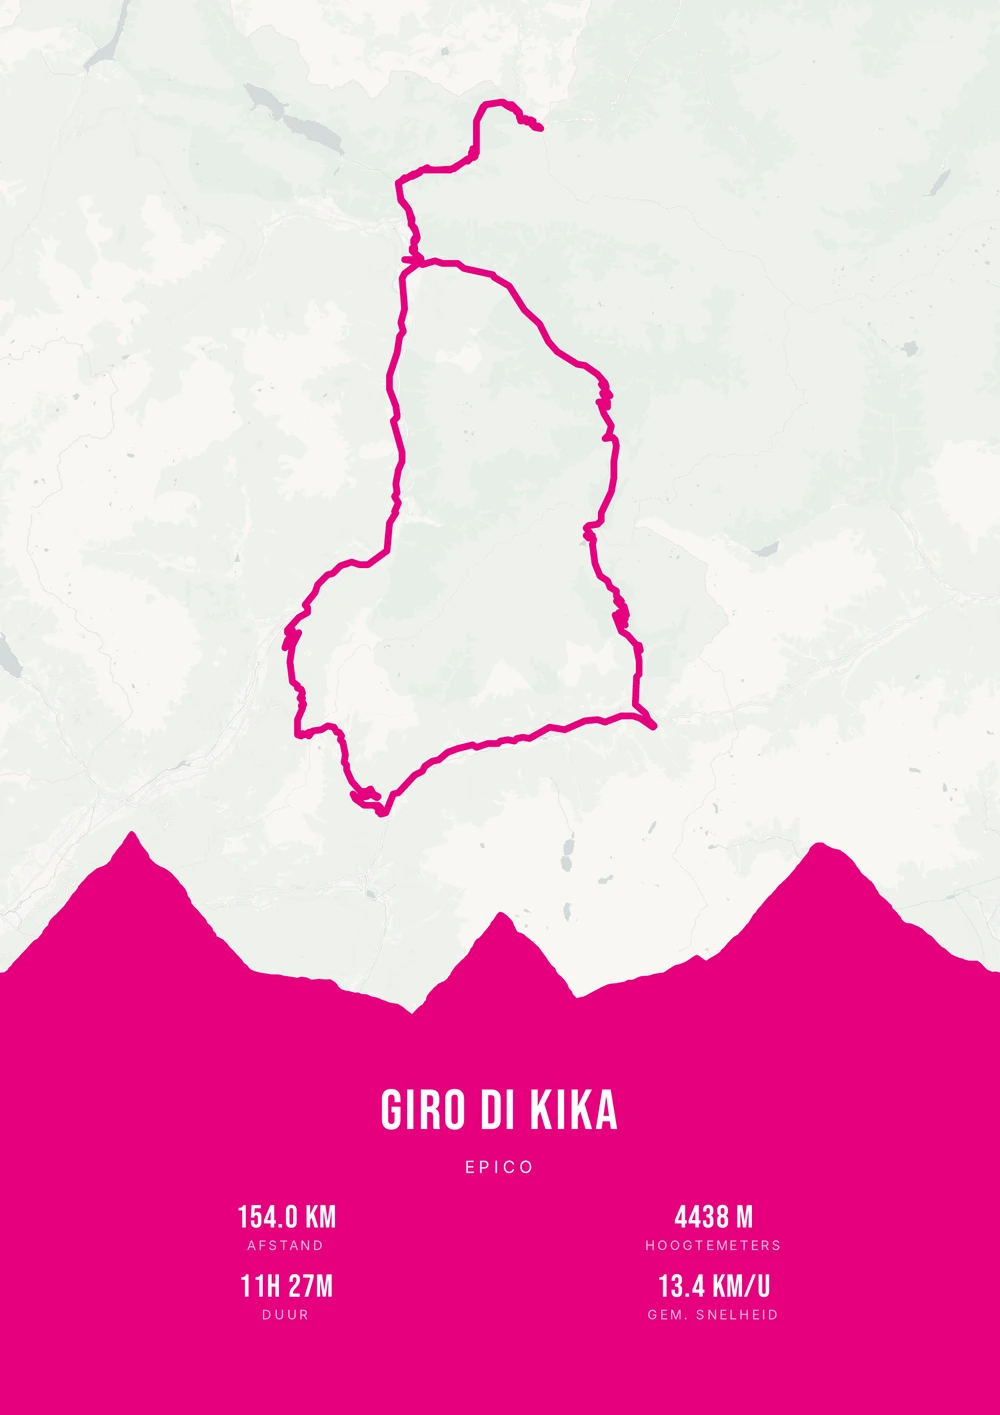
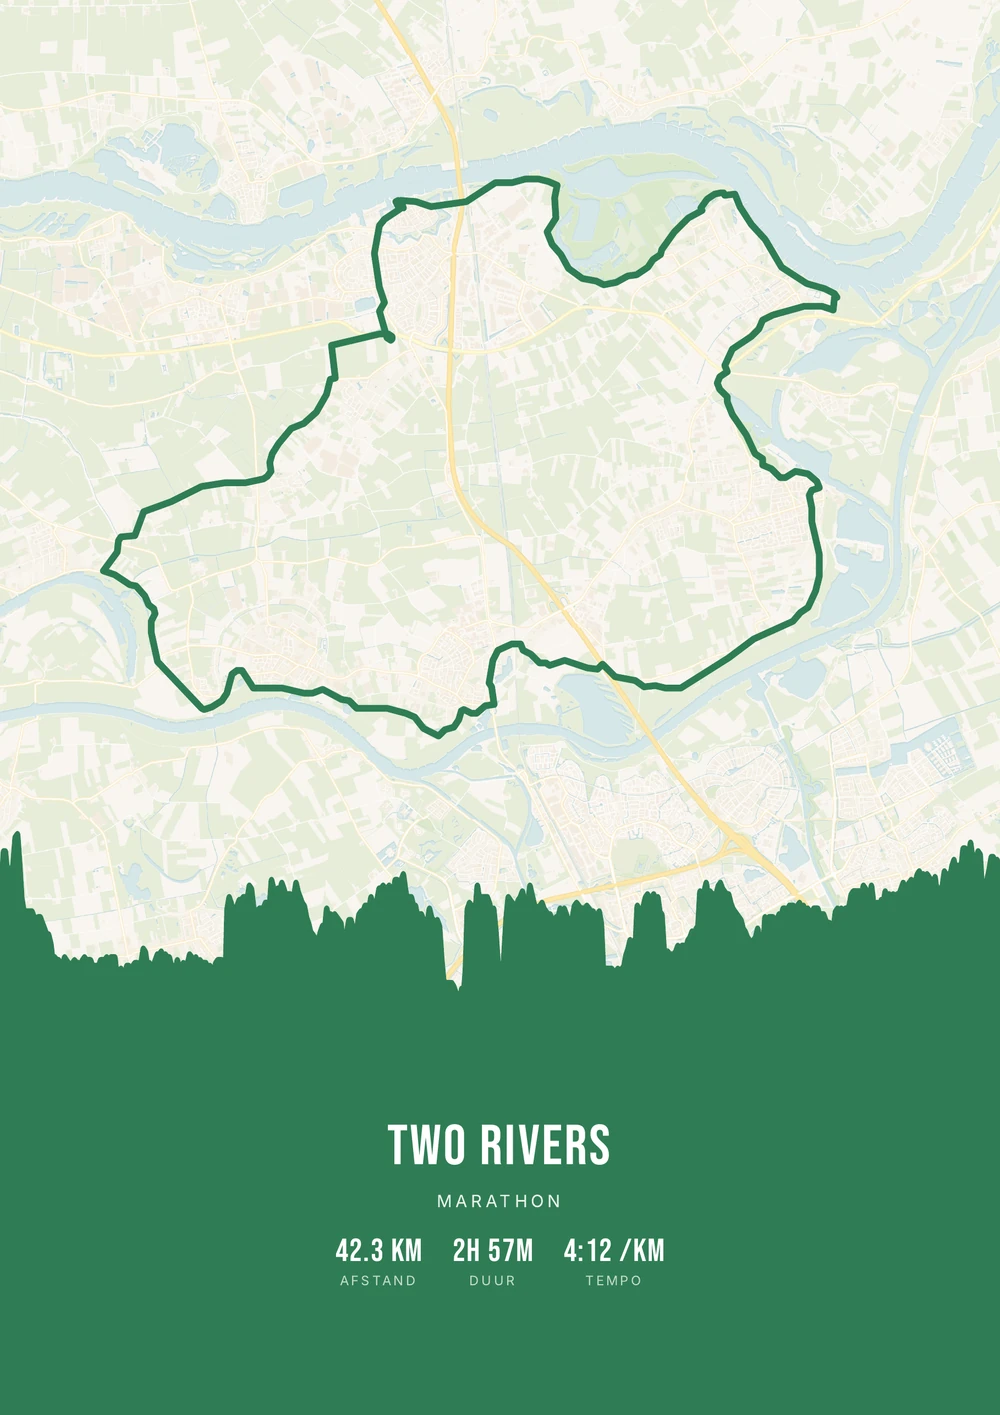
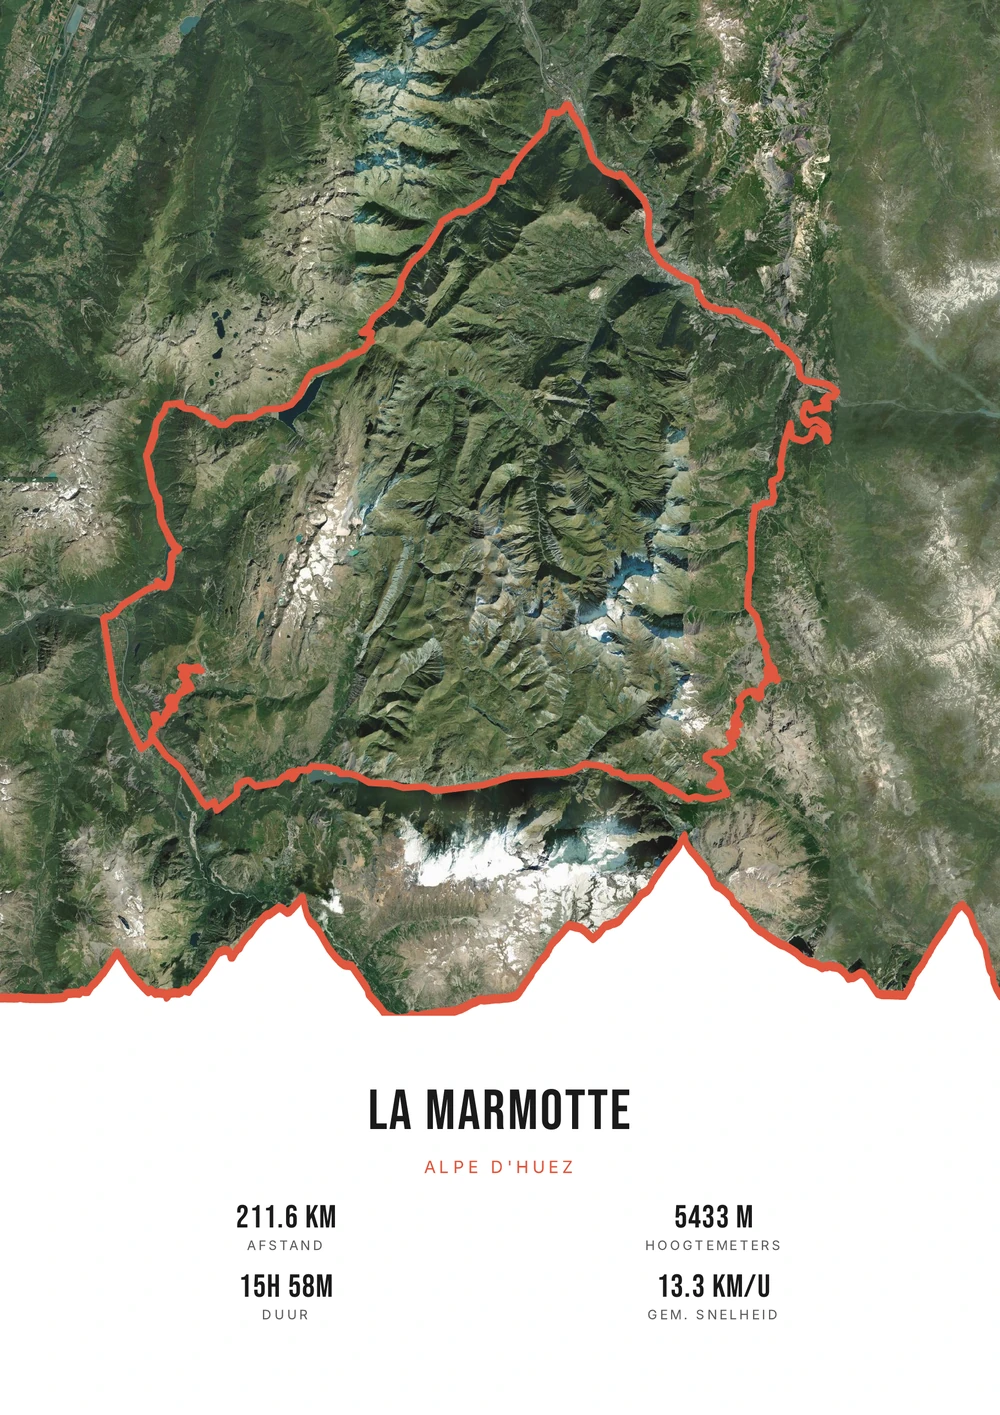
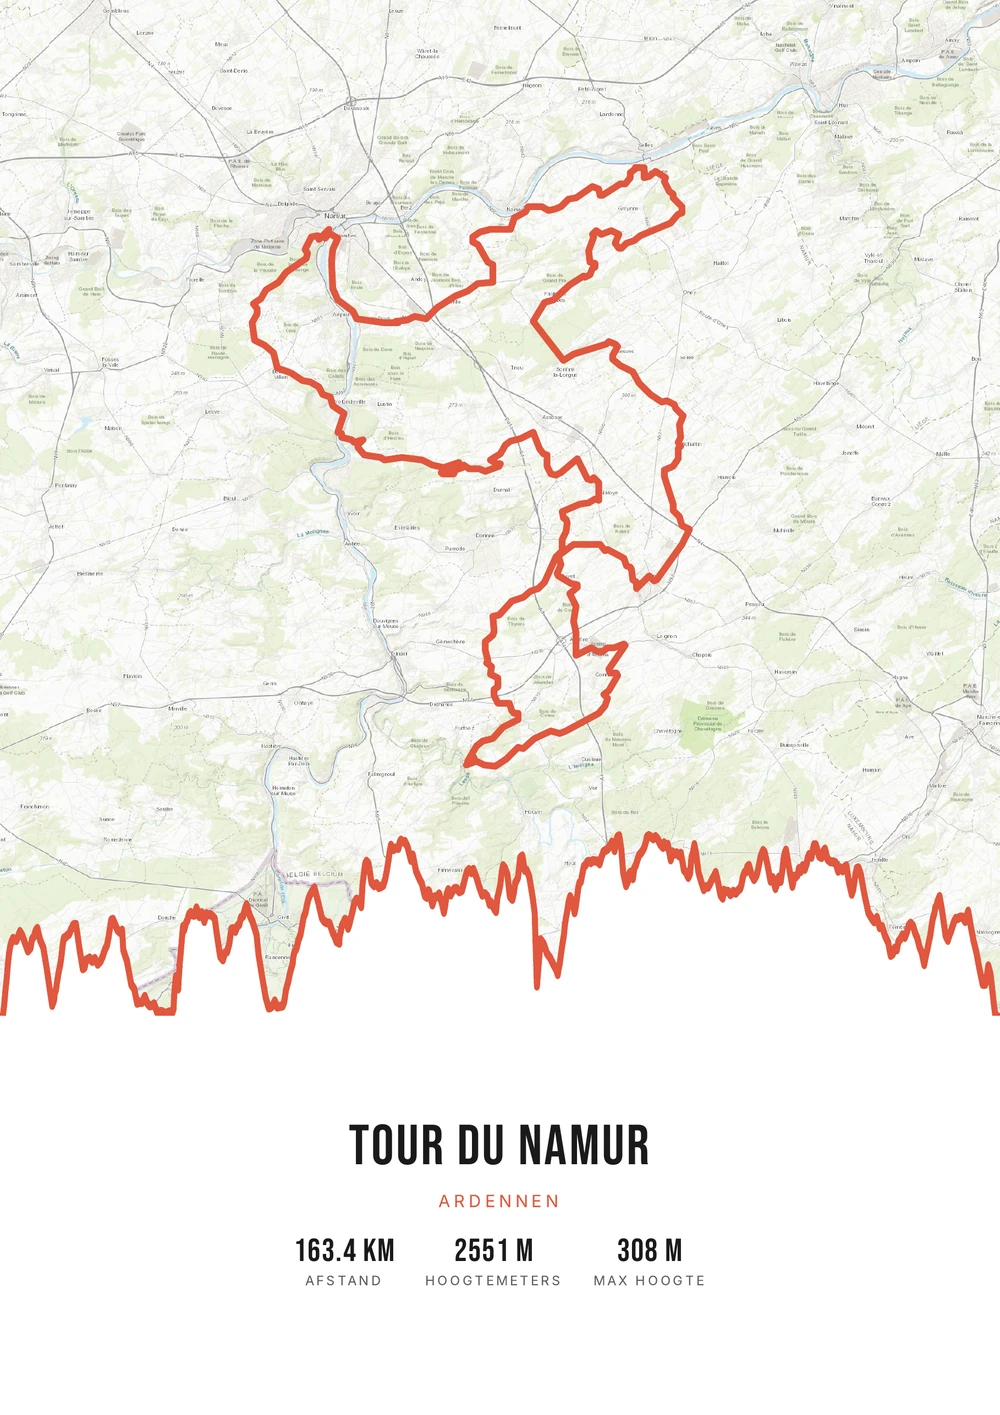
Different rides, each in its own palette, map style and elevation gradient.
Why this works
A hiking trail is a story with a line
For a hiker the value isn't in a time on the clock. It is about the route itself: where you started, how the landscape changed, which day was hardest. That makes a trek especially well suited to being shown — the line on the map is the story.
Think of the Camino, a national trail, a stretch of a GR route or a week in the Alps. Trails like that take weeks of preparation and stay with people for years. And usually nothing tangible remains except photos on a phone.
With Route Frame you turn the GPS file of the trek into a poster: the route on a map of your choice, the elevation profile below and the kilometres, climbing and duration alongside. Multi-day trails can be merged from separate stages into one continuous route, so the whole week fits on one poster.
Why it makes a great gift
For $4.20 you get the print-ready file of the whole trek, in the style you choose.
-
The whole trail in view
Even a ten-day route fits on one poster, with the full elevation profile.
-
Personal, not standard
Not an off-the-shelf map from a web shop, but exactly the route they walked.
-
Print it yourself
Small for the hallway or large for the living room — you choose size and frame.
Coming soon: broader packages and extra sizes.
How it works
From hiking route to poster
A hiking app, watch or route planner gives you a GPX file — that's all you need.
Step 1 of 5
Download your GPX file
Grab your ride's GPX file from Strava, Garmin and others. One little file with your route — that's all you need to start.
Step 2 of 5
Upload your GPX
Drag the file onto Route Frame or click to pick it. We read distance, elevation and duration automatically.
Step 3 of 5
Make it yours in the editor
Tune it exactly how you like: pick a color palette, map style and background, and show the elevation profile and the stats you want. Endless tweaking — free.
Step 4 of 5
Simple, secure checkout
Pay once, no subscription. Check out with confidence on a secure payment page.
Step 5 of 5
Source file and invoice by email
Right after payment you get the high-quality, print-ready PDF source file with your invoice in your inbox. Print it at home or at a print shop — now or again in five years.
Print-ready vector PDF at A4. Exactly the source file you receive after payment.
No GPX file yet?
How to export your ride
Your poster starts with a GPX — the file that holds your route. Grab it from Strava or Garmin in half a minute.
-
1
Open your activity on Strava
Go to strava.com (easiest on a computer) and open the activity you want on the poster.
-
2
Open the actions menu
Click the three dots (⋯) at the top right of the activity.
-
3
Choose ‘Export GPX’
Your GPX file downloads right away. Ready to upload.
Tip: exporting works best on the Strava website; the option is tucked away in the app. A manual activity without GPS can't be exported.
-
1
Open your ride in Garmin Connect
Go to connect.garmin.com and open the ride under ‘Activities’.
-
2
Open the top-right menu
Click the gear icon (⚙) or the three dots (⋯) above the activity.
-
3
Choose ‘Export to GPX’
The GPX file downloads. Drop it in below.
Tip: this works on connect.garmin.com. In the Garmin Connect app the option is simply called ‘Export’.
Which trek suits this?
Trails with enough story to hang on a wall.
-
The Camino
Santiago de Compostela or a stage of it — a trail people never forget.
-
A long-distance path
A national trail or GR route: hundreds of kilometres as a single line.
-
A multi-day march
Four days of walking, with every daily route merged into one whole.
-
A mountain or hut trek
A week in the Alps or Pyrenees, where the elevation profile tells the story.
Gift for hikers
Frequently asked questions
-
What do you give someone who hikes a lot?
Something about their trail rather than their kit. A poster of the route they walked is personal and stays up, whereas boots and poles have usually been chosen already.
-
Does it work for a multi-day trek?
Yes. You can merge separate GPX files of stages into one continuous route, so the whole trail fits on one poster with the total distance and elevation gain.
-
Where do I get the GPX file of a walk?
From the app or watch it was recorded with — Strava, Komoot, Garmin Connect and Wikiloc can all export a GPX. For well-known routes such as the Camino, GPX files are also available online.
-
Does the elevation profile of a mountain trek come out well?
Yes. The profile sits below the map, across the full length of the route. On mountain treks it is often the most recognisable part of the poster.
-
Will I receive a framed poster in the post?
No, you get the print-ready PDF file. You print it yourself or have it printed, at whatever size you want — and you can reprint it later at no extra cost.
-
Can I use someone else's route?
Yes, as long as you have the GPX file or the route is publicly available online. For a gift you don't need access to their account.
Put their trail on the wall
Upload the GPX file of the walk and see the result straight away.
Opens the editor with a real 151 km ride through South Limburg. Everything is editable, and you can still upload your own GPX afterwards.